Using Safe multi-sig as admin
Deploying a vesting contract with a Safe wallet is a great way to ensure your contracts are protected with an additional layer of security.
There are 3 steps involved to create a vesting contract with a Safe multi-sig.
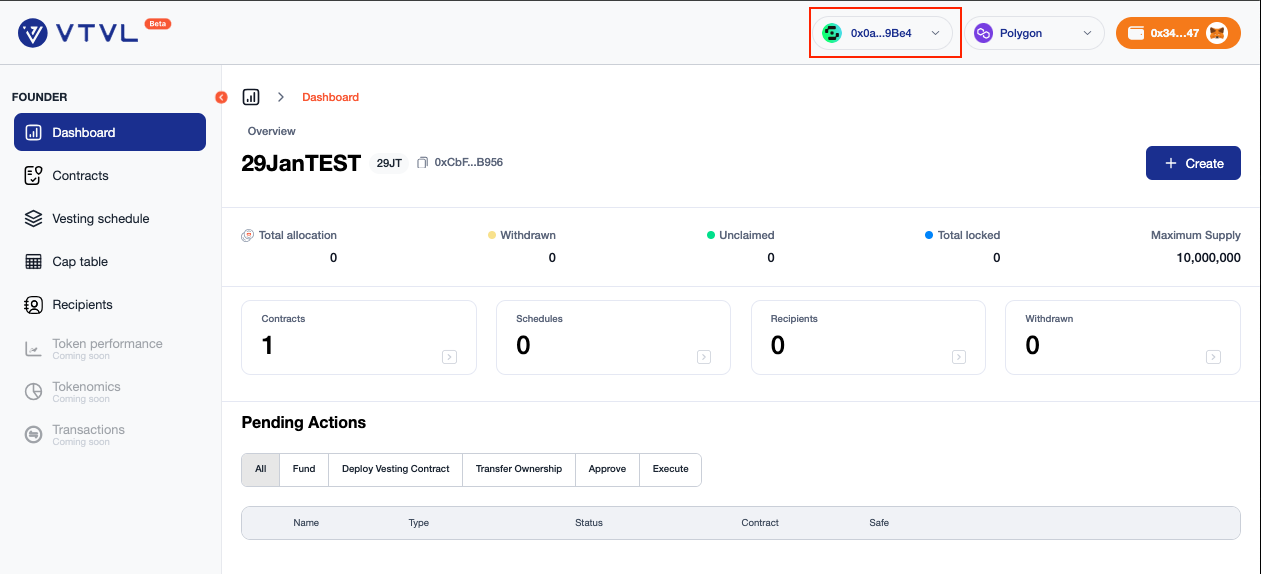
You MUST ensure the correct Safe wallet is connected by referring to the navigation bar at the top! If you haven't imported/created a Safe yet during onboarding, you can do so in the Settings page.
Time to deploy!
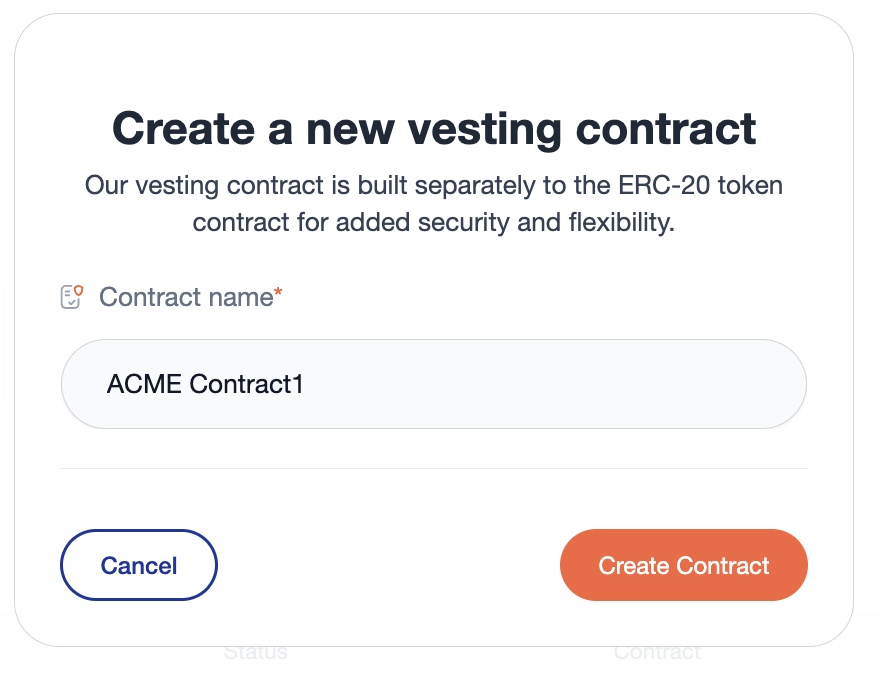
Step 1. Click on + Create and in the drop down select Create contract. Add a name for your contract then select Create Contract.
Under the Pending Actions section on your dashboard, click on Deploy to initiate deployment to the blockchain.
Step 2. Once that's been successfully deployed, now you need to transfer the ownership of the deployed contract to your multi-sig wallet.
Under Pending Actions, click Transfer Ownership next to the contract you just deployed.
Approve the transaction on your wallet pop-up. We're nearly there!
Step 3. Under the same section, you should now see the CTA change toRemove Original Ownership button. Click that and approve the transaction. (PS: You can skip this step if you are fine to have both the EOA wallet and the multi-sig wallet both be admins of the contract!)
🎉 Congrats, you've just created a vesting contract with a Safe multi-sig!
Last updated